
A kitchen makeover is an exciting venture that promises a fresh new space, modern appliances, and a more functional layout. Whether you’re embarking on a kitchen renovation for the first time or you’re an experienced DIY enthusiast, protecting your current appliances and utensils during the process is essential. In this article, we’ll explore a variety of storage solutions and best practices to ensure that your items remain safe and sound throughout your kitchen makeover.
Planning Your Storage Strategy for a Kitchen Renovation
Every successful kitchen renovation starts with a well-thought-out plan. Before diving into the details, it’s crucial to evaluate your current kitchen layout, assess the items you’ll need to store, and choose the best storage solutions that suit your project timeline.
Mapping Out the Essentials
Begin by taking inventory of your appliances, utensils, and other kitchen items. Ask yourself:
- Which items will remain untouched, and which ones need extra care during your kitchen makeover?
- Do any appliances require special treatment during a kitchen renovation?
- How frequently do you need access to these items throughout the process?
Grouping items by frequency of use helps you decide which items can be stored away in a less accessible space and which should remain close by for convenience.
Setting Up a Temporary Storage Area
One of the best ways to protect your belongings during a kitchen renovation is to set up a dedicated temporary storage area. Whether you have access to a spare room or are considering renting external storage, having a clear separation between your renovation area and stored items reduces the risk of damage or misplacement. For secure, hassle-free storage, explore Newbury Self Storage’s personal storage solutions.
Customising Your Storage Needs
Not every kitchen item is created equal. Large appliances often require padded coverings and ample space, while delicate utensils need protective packaging materials. Use clear, labelled containers to keep track of your items, ensuring that you can quickly identify and retrieve what you need after the kitchen makeover.
Protecting Your Appliances During a Kitchen Renovation
Kitchen appliances represent a significant investment, and a kitchen makeover should never compromise their integrity. Here are some practical steps to ensure they remain in pristine condition:
Wrapping and Padding
Gather plenty of bubble wrap, moving blankets, and packing tape before you begin dismantling your appliances. Wrap each appliance carefully to shield it from dust, scratches, and accidental bumps during your kitchen renovation. Proper padding can save you from costly repairs later.
Dismantling with Care
For appliances that require dismantling, document the process with photographs or detailed notes. This documentation ensures that you can easily reassemble them correctly once your kitchen makeover is complete. Enlisting a friend or professional movers can further minimise risks, ensuring your kitchen renovation runs smoothly.
Storing in a Safe Environment
Whether stored at home or in a rented facility, appliances need a stable, dry, and secure environment. If you’re utilising external storage, make sure the facility offers climate-controlled options to prevent moisture build-up,a critical consideration during any kitchen renovation.
Securing Your Utensils and Smaller Kitchen Essentials
Utensils, from everyday cutlery to specialised cooking tools, are essential to your kitchen’s function. Here’s how to keep them safe and organised during your kitchen makeover:
Choosing the Right Containers
Invest in sturdy, sealable containers that can hold your utensils securely. Clear plastic boxes are ideal as they allow you to see the contents at a glance. For delicate items, consider cushioned dividers within larger boxes, ensuring they remain damage-free throughout your kitchen renovation.
Organising by Category
A practical tip is to organise your kitchen essentials by category,group similar items like baking tools, knives, or serving utensils together. This not only keeps your storage area tidy but also makes it easier to find what you need when the kitchen makeover is complete. For further inspiration, check out the packaging solutions available, which can help customise your storage containers.
Making the Most of Vertical Space
Utilise vertical space by using shelving units or stackable containers. This method maximises your storage area and is especially useful if your kitchen makeover involves limited storage space for your kitchen renovation.
Creating a Practical Renovation Timeline
A well-coordinated timeline is essential when juggling a kitchen makeover with the logistics of safely storing your items. An efficient schedule minimises downtime and reduces the stress associated with disorganised storage.
Phasing Your Renovation
Break your project into manageable phases. Start with the appliances and larger utensils, then move on to the smaller items. This phased approach makes the overall kitchen renovation more manageable and ensures that each part of your kitchen makeover is executed carefully.
Preparing for the Unexpected
Renovations rarely go exactly as planned. Build some flexibility into your timeline to account for potential delays. A contingency plan, such as utilising container storage, can provide the extra time needed to ensure your kitchen renovation isn’t rushed.
Keeping Communication Open
Effective communication with your contractor or team is paramount. Ensure everyone is clear on the storage needs and special handling instructions. A well-coordinated team is key to a smooth kitchen makeover.
Personal Anecdote: Lessons Learned from a Kitchen Renovation
I once embarked on a kitchen renovation that turned out to be a rollercoaster of emotions. One of the biggest challenges was managing the myriad of small utensils that seemed to multiply overnight. In the initial rush, I stored them in several different boxes without proper labels, leading to a frantic treasure hunt when I needed a specific spatula during my kitchen makeover.
After that experience, I learned the importance of a meticulous approach: clear labelling, categorising items by use, and even colour-coding containers. These small organisational tweaks saved me countless hours during reassembly and added a sense of calm to my kitchen renovation journey.
Tips for a Smooth Storage Process
Here are some practical tips and tricks to ensure your storage process is as efficient and stress-free as possible during your kitchen makeover and renovation:
1. Invest in Quality Packing Materials
Never skimp on packing supplies. Durable boxes, bubble wrap, and sturdy tape offer extra protection for your appliances and utensils,a small investment that can prevent costly repairs down the line during your kitchen renovation.
2. Label Everything Clearly
Take the time to label each box with its contents and the designated area. This habit saves time when unpacking and ensures that nothing gets misplaced during the kitchen makeover process.
3. Use Protective Covers
Consider using protective covers or custom-fit sleeves for your appliances. These are particularly useful for items with delicate finishes or those prone to scratches, ensuring your kitchen renovation doesn’t compromise their condition.
4. Create an Inventory List
Maintaining a detailed inventory of all stored items not only keeps you organised but also reassures you that every piece is accounted for during your kitchen renovation. It’s a simple yet effective step to streamline your kitchen makeover.
5. Opt for Professional Storage Solutions
If your renovation is extensive, or you’re short on space at home, professional storage solutions can be a lifesaver. Consider business storage or personal storage options that provide secure, climate-controlled environments, ensuring your items remain in pristine condition during your kitchen renovation.
Storage Ideas for Different Kitchen Items
A one-size-fits-all approach rarely works when it comes to storage during a kitchen makeover. Here’s how to approach storage for different kitchen items:
Appliances
- Large Appliances: Ensure refrigerators, ovens, and dishwashers are thoroughly cleaned, defrosted, and wrapped in protective materials. These items should be stored in a dry, temperature-controlled environment to prevent damage during your kitchen renovation.
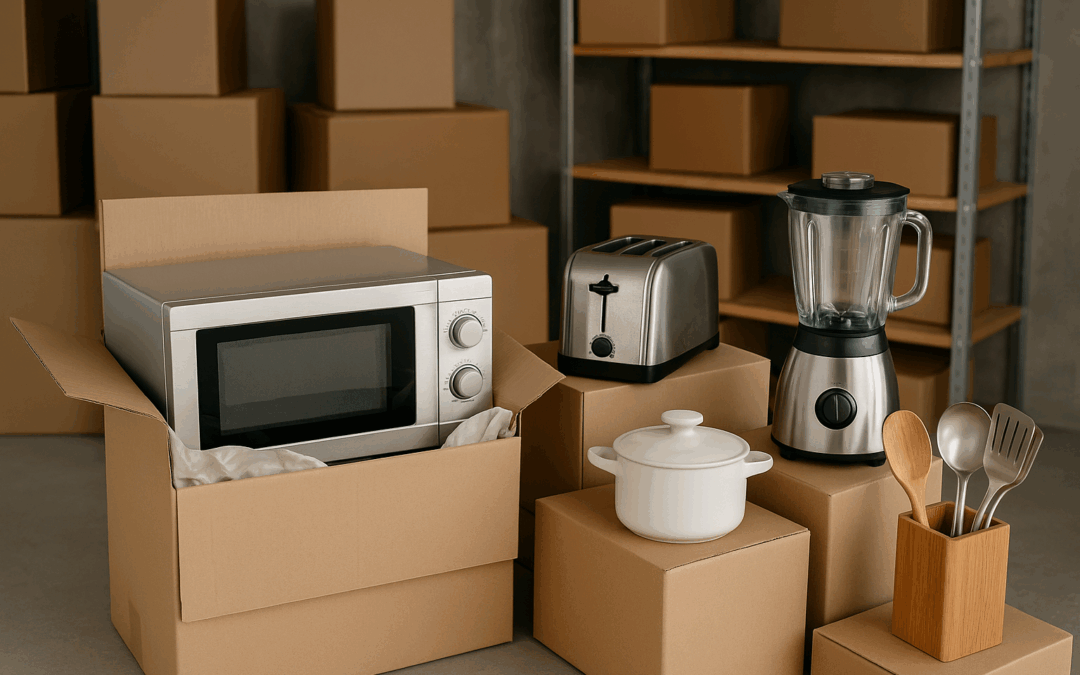
- Small Appliances: Items like mixers, toasters, and blenders need careful wrapping and cushioning. Place them in stackable boxes with soft materials to avoid dents or scratches, making the kitchen makeover process as smooth as possible.
Utensils and Cookware
- Everyday Utensils: Use clear plastic containers with dividers to store everyday cutlery and cooking utensils. This organisation method is perfect for keeping your kitchen renovation efficient and stress-free.
- Delicate Items: For fragile items, such as fine china or decorative kitchenware, use specialised storage containers that protect against impacts. Wrap each item individually to ensure nothing is compromised during your kitchen makeover.
Miscellaneous Kitchen Essentials
- Spices and Condiments: These can be stored in labelled jars or containers on a dedicated shelf, making them easy to access during the kitchen renovation.
- Cookbooks and Manuals: Keep these in a secure, dry location away from dust and moisture, ensuring they’re in perfect condition post kitchen makeover.
Choosing the Right Storage Provider
When your kitchen renovation requires external storage, finding a trusted provider is key. A reputable storage company will offer solutions that align with your needs,whether you’re storing items during a brief kitchen makeover or for a more extended kitchen renovation.
How to Evaluate Storage Options
- Security Features: Look for providers that offer robust security measures, including surveillance cameras, secure locks, and controlled access.
- Climate Control: Choose a facility with climate-controlled units to prevent damage from humidity or extreme temperatures, ensuring your kitchen renovation is smooth.
- Accessibility: Consider how often you might need to access your items during your kitchen makeover. Flexible access hours and a convenient location are crucial.
For professional guidance on choosing the right storage solution, consider visiting the Newbury Self Storage Homepage or get in touch via the Contact Us page.
Reintegrating Your Items After the Kitchen Renovation
Once your kitchen makeover is complete, the process of unpacking and reintegrating your appliances and utensils should be just as carefully planned as the initial storage.
Gradual Unpacking
Avoid the temptation to unpack everything at once. Start with the essentials and gradually organise the remaining items. This approach ensures your kitchen renovation ends on a high note, with a functional and organised space.
Inspect for Damage
Before reassembling or reconnecting your appliances, take a moment to inspect each item for any damage that may have occurred during storage. Should you notice any issues, contact your storage provider immediately.
Reorganise for a Functional Layout
Use this opportunity to rethink your kitchen layout. Perhaps you’ve discovered a more efficient way to organise your utensils or found the perfect spot for your appliances. Creative storage solutions like pull-out drawers or under-cabinet shelving can enhance both functionality and aesthetics, rounding off your kitchen makeover with style.
The Emotional Side of a Kitchen Renovation
Renovating your kitchen can be both exhilarating and emotionally challenging. Amid the chaos of storing cherished items and the anticipation of a new design, it’s natural to feel overwhelmed.
Finding Joy in the Process
Remember that every step, from planning to storage to the final reveal, is part of your kitchen renovation journey. Many of us have experienced the anxiety of misplacing a favourite spatula or worrying about damage to a cherished appliance. Embrace these challenges as part of creating a space that truly reflects your personality.
Sharing Your Experience
Consider sharing your renovation journey with friends or online communities. Exchanging tips and experiences not only provides practical insights but also builds a supportive network during your kitchen makeover.
Final Thoughts
Preparing for a kitchen makeover isn’t solely about enhancing aesthetics, it’s about ensuring that every element of your current space is preserved safely and efficiently. With careful planning, the right storage solutions, and a proactive approach, you can focus on the creative side of your kitchen renovation without worrying about damage or loss of your prized appliances and utensils.
By embracing smart storage practices, you pave the way for a seamless transition from an outdated kitchen to a modern, inspiring workspace. Whether utilising innovative home storage techniques or professional business storage solutions, the key is to remain organised and flexible throughout your kitchen renovation.
If you have any questions or need personalised advice on storage options during your kitchen makeover, browse the Newbury Self Storage Homepage or reach out through the Contact Us page.
Embarking on a kitchen makeover is a journey filled with anticipation, challenges, and eventual rewards. With the right storage strategies in place, your kitchen renovation will not only enhance your living space but also provide you with a beautifully transformed, functional kitchen to enjoy for years to come.
Happy renovating!